October 4, 2021

How to Replace a Cartridge on a Moen Faucet

Author

Update First Last in Content -> Business Text -> First Last field

Date

October 4, 2021

Share

Like most manufacturers, Moen uses a cartridge design on many of its faucets, whether for faucets in the kitchen, bathroom, or tubs and showers. When problems occur (often signaled by leaking), both their single-handle and double-handle faucets are usually easy to fix by removing the old cartridge and replacing it with a matching new one.
Replacing a faucet cartridge is a surprisingly easy task, especially for Moen faucets. There's almost never any reason to call a plumber for this work when you can do it yourself in just a few minutes. FEATURED VIDEO

0 seconds of 6 secondsVolume 0%


01:22


  8 Easy Ways to Organize Your Refrigerator

Before You Begin

The cartridge replacement process is similar for nearly all cartridge faucets, no matter who the manufacturer is, but Moen makes the job easier with a convenient proprietary cartridge puller that is often packaged together in a kit with the replacement cartridge. Alternatively, you can obtain a generic cartridge-puller tool used by many professional plumbers. A cartridge puller screws right onto the old cartridge so you can turn the cartridge until it's free and pull it out. You can find cartridge pullers at any hardware store or home center for a reasonable price.

Tip: It's generally best to choose replacement cartridges made by the manufacturer (if they're available), which are assured to fit properly. But don't be afraid to buy aftermarket parts from a reputable secondary supplier, provided they are specified for your faucet model. With older faucets, a secondary supplier may be your only choice if the manufacturer no longer offers replacement parts. 

What You'll Need

Equipment / Tools
  • Slot and Phillips screwdrivers
  • Utility knife
  • Channel-lock pliers
  • Cartridge puller

Materials
  • Replacement cartridge
  • Plumber's grease

Instructions

1) Shut off the Water Shut off the water supply to the faucet by closing the shutoff valves on the hot and cold water supply lines under the sink. Turn the valve handles clockwise until they stop. If there are no shutoff valves under the sink, turn off the water to the house at the home's  main shutoff valve
2) Remove the Handle Pry off the decorative cap on the faucet handle using a small, flat-head screwdriver. Remove the screw in the center of the handle cavity, then pull the handle from the faucet body.

3) Remove the Faucet Clip Using a utility knife, remove the small retaining clip that keeps the cartridge in place. Fit the tip of the knife into the small hole or space at the back of the clip, slide out the clip a bit, and remove it with your fingers or pliers. 
(If your faucet has a chrome sleeve covering the clip, remove the sleeve by pulling it straight up. This will give you access to the cartridge clip.)

4) Extract the Cartridge The cartridge can sometimes be pulled from the faucet body just by tugging on it with pliers, but it is easier if you use a cartridge puller.
Fit the cartridge puller over the end of the cartridge and screw the center of the puller into the hollow threaded end of the stem. Position the puller so it fits tightly in the notches of the stem.  Turn the puller side-to-side a few times to loosen the cartridge. Pull out the tool to extract the cartridge. It may come out in one motion. Otherwise, continue turning side-to-side while pulling the cartridge out.

5) Replace the Cartridge Apply a small amount of plumber's grease to the rubber O-rings of the new cartridge, if they aren't already lubricated. Insert the cartridge into the faucet body, aligning the tabs on the cartridge with the notches on the faucet. The cartridge must be properly aligned in order for the retaining clip to fit.  Many replacement cartridges come with a plastic piece that helps you line up the cartridge so you can get the clip back in. If not, you can use the cartridge puller or plastic nut and wrench to wiggle the cartridge side-to-side until the clip goes in easily. 

6) Reassemble the Faucet Reinstall the retaining clip by hand or by using pliers. Fit the chrome sleeve into place if your faucet has one. Reinstall the handle, securing it with its screw, then snap the decorative cap onto the handle.   Turn the water back on by turning the shutoff valves counterclockwise until they stop. Run the faucet to test for proper operation. 
Source: https://www.thespruce.com/moen-faucet-cartridge-replacement-2718852

Chrome bathroom faucet with running water into a white sink.
October 17, 2025
Protect your older home’s charm and efficiency with expert plumbing contractors. Tim Rausch Plumbing LLC modernizes systems while preserving history.
Plumber repairs a bathroom sink, using a wrench.
June 17, 2025
If you have a plumbing inspection coming up, here's what you need to do to plan before your local plumbing contractor visits your home.
Plumber with wrench fixing a leaky pipe under a sink. Water is spraying.
July 22, 2024
When we ignore issues that need plumbing service, they often get to be much larger than what they originally were. Read on for what can happen!
Person using a wrench to work on plumbing under a kitchen sink.
February 13, 2024
Are you experiencing plumbing issues? Read more to identify the signs you need to call a professional plumbing contractor.
Bright white kitchen with a wooden island, stainless steel appliances, and gray walls.
September 27, 2022
A leaking refrigerator can feel like a drastic enough situation that you may think it's time to shop for a new fridge. But a leaking refrigerator doesn't necessarily mean that your fridge is on its way out .
Person plunging a white toilet with a black plunger.
September 27, 2022
An overflowing toilet is a relatively common problem that many people have had to deal with, but the commonality of this issue doesn't mean that it isn't a serious situation that needs to be handled quickly. The water from an overflowing toilet can soak into wood cabinetry, seep into the walls, or damage the floorboards, making it easier for mold, mildew, and rot to spread throughout the infrastructure of your home.
Hand turning dial on a washing machine, tools and level on shelf above.
September 27, 2022
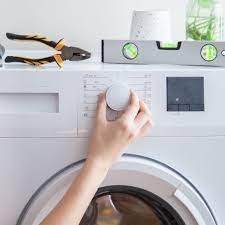
A washing machine is an essential appliance to ensure that towels, linens, clothes, and bedding are regularly washed and sanitized. Whether you use a professional cleaner to launder your clothes, take laundry to a local laundromat, or use a personal washing machine in the comfort of your home, it's necessary for your personal hygiene to have clean clothes to wear to school, work, or when you meet up with friends.
Plumbing tools: shower head, faucet, valves, hoses, and sealing materials on a dark gray surface.
July 12, 2022
On the side or top of your water heater tank is a valve connected to a metal or plastic discharge tube pointing downward. The valve is called a T&P valve, or TPR valve, for "temperature and pressure relief."
Basement with white brick walls, open doors, water heater, and various pipes.
July 12, 2022
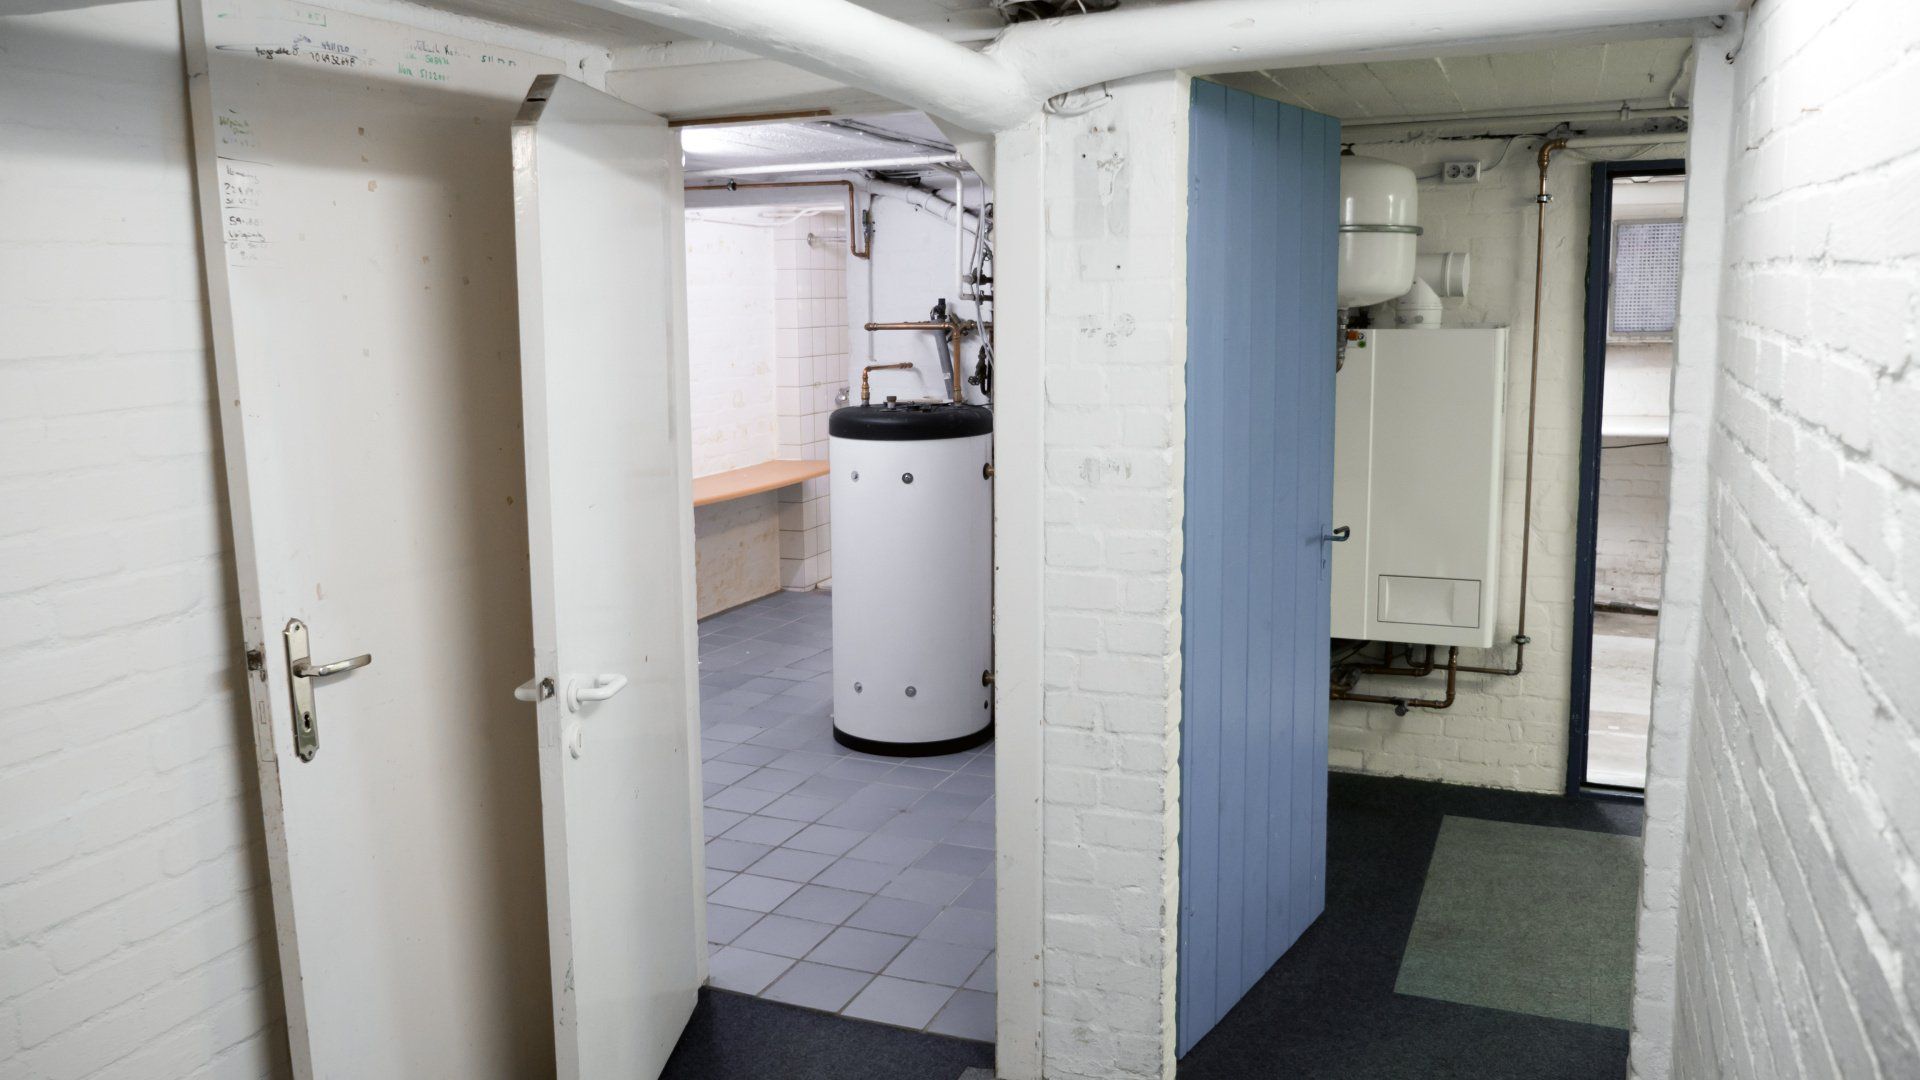
Boilers and water heaters are important to the heating and water supply operations of the home. While they provide different services to the house—one for space heating , the other for domestic water usage—there is some slight overlap in the form of combined boiler/heater devices.
Empty room with brick walls, two windows, and a shiny, wet concrete floor.
March 29, 2022
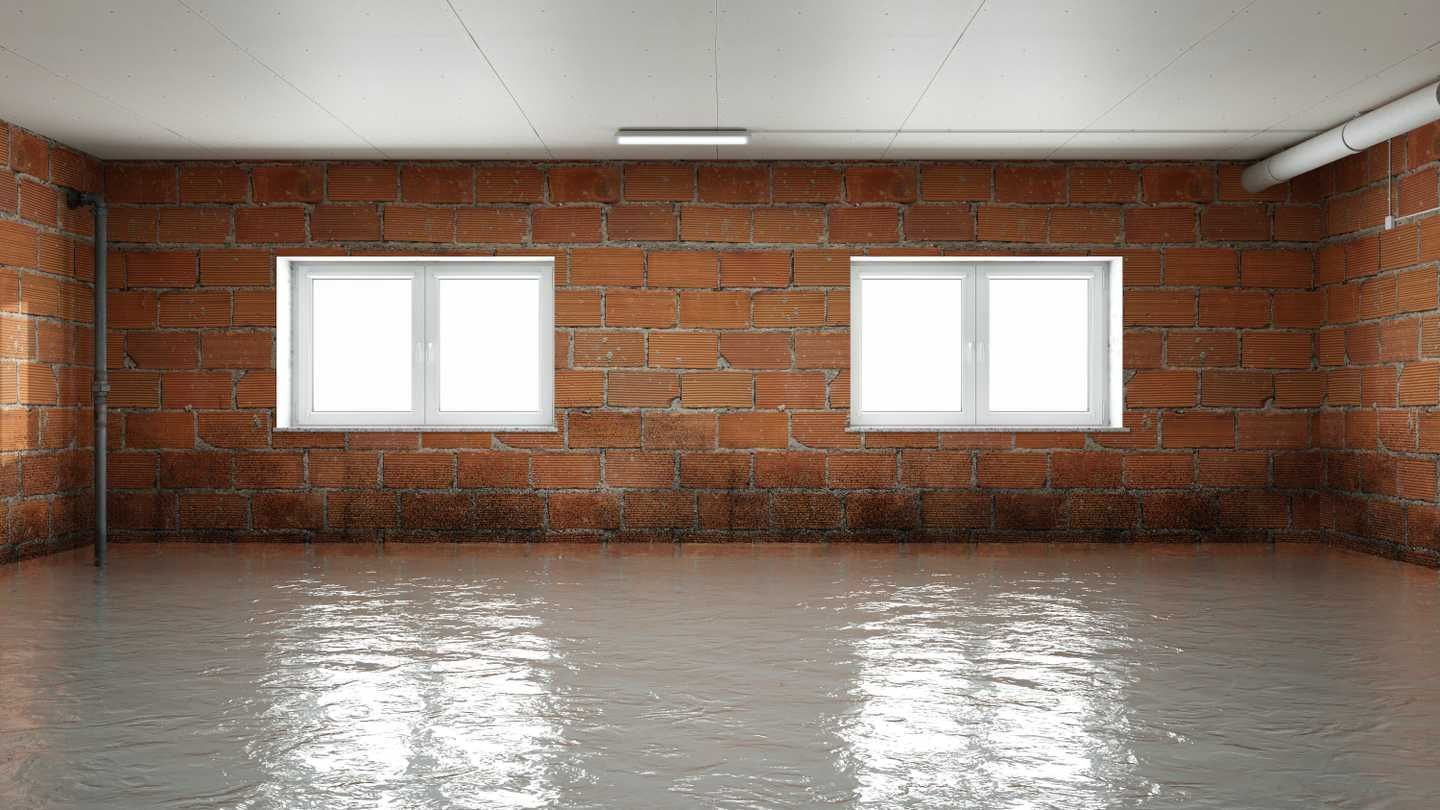
Most of the time, your home’s sump pump works efficiently and invisibly in the background. In areas with much groundwater, the sump pump's regular on and off sounds merge with the tapestry of your home life.
Show More